The product has been added to your cart
Highlights Est. 2001
info@hlstore.com
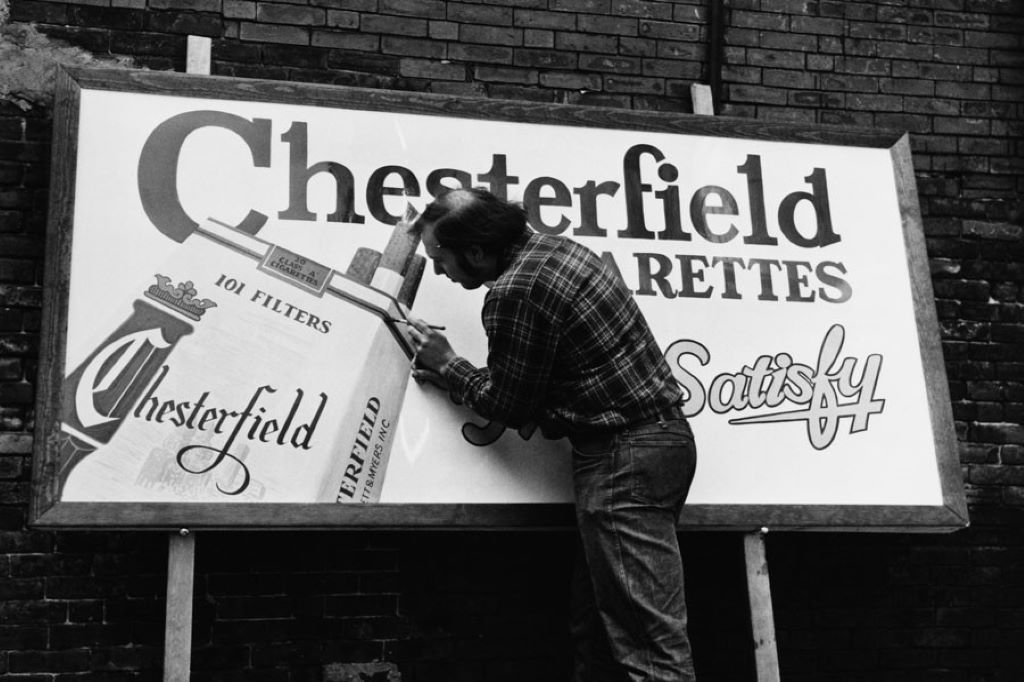
Sign painting and sign writing is the art form for hand painted signs. Until the 80s, sign painting was standard in all forms of visual communication, especially outdoors. Today, sign painting is mainly practiced as a traditional craft. In recent years, the demand for quality and traditional hand-painted signs has increased, which has given the craft new life. Maybe you fancy painting your own door sign, a sign for your business or maybe just a decorative piece of art.
We have everything you need to paint your first sign. The products from 1-Shot and Handover are used by some of the most famous artists in pinstriping (painting lines for decoration), sign writing and sign painting. When painting traditional signs, it is safest as a beginner to use several products from the same brand, so e.g. do not mix paint from one brand with a thinner from another brand. In this guide we will stick to products from 1-Shot.
We will walk you through which products are used for what and how to get started with painting your own sign. If you want more inspiration and tips, we recommend the book Sign Painting.
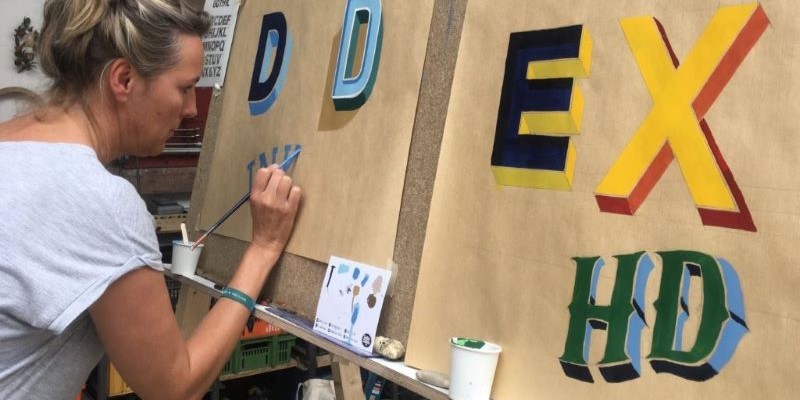
Within Sign Painting there are different styles of text. The most common style is Casual, then there are also Bold and Script. It may be useful to practice painting the letters properly before painting a sign with enamel paint. It is good to practice on paper with acrylic paint. On youtube there are several videos where you learn the different fonts.
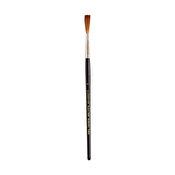
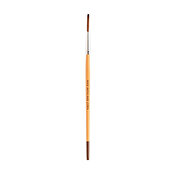
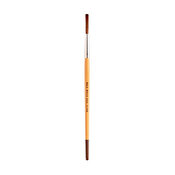
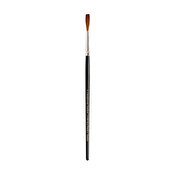
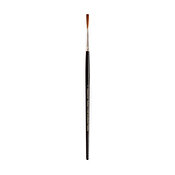
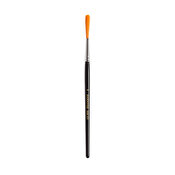
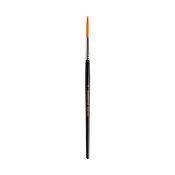
In the book Sign Painting, they recommend the following brushes for those just starting out with sign painting:
The first step is to prime your sign with primer. This ensures that the paint adheres well to the surface you are going to paint and that the sign withstands weather and wind better. If you are painting on a metal surface, use metal primer and if you are painting on wood, use wood primer. Apply an even layer of primer with a brush. Cover the entire area that is to be painted. Apply several thin layers of primer rather than one thick layer.
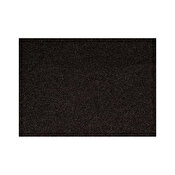
Sand the primed surface so that you get a smooth surface to paint on. Use a fine sandpaper, for example Mirka Ecowet Sandpaper P400. Smoothing the layer out with primer makes the color sit evenly and nicely on the surface.
Now you are going to apply your first layer of paint on the sign, use the paint 1-Shot Signwriting Enamel Gloss. Pour paint from the can into a separate container that you can dip your brush in. Always avoid dipping your brush directly into the paint can as this can cause the paint to become contaminated with dirt and bacteria. Also avoid leaving the jar uncovered or out in the air for too long.
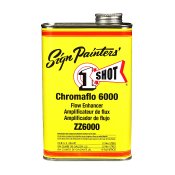
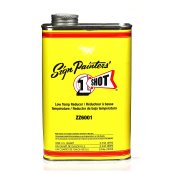
Mix out the color with 1-Shot ChromaFlo Flow Enhancer until the color becomes reasonably compliant. Sometimes the paint is very viscous at cold temperatures, this is remedied by mixing the paint with 1-Shot Low Temperature Reducer.
This layer will be your background color. Paint several thin layers rather than one thick one. Allow the paint to dry thoroughly before applying the next layer.
If you want the paint to dry faster, you can use 1-Shot Hardener, then the paint will dry in a couple of days. Mix 10% Hardener with 90% enamel paint. In this case, do not use any enhancer or reducer. If the paint is still too viscous, you can use 1-Shot Low Temperature Reducer.
.jpg)
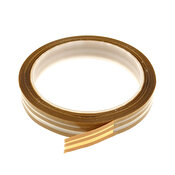
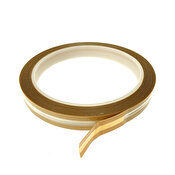
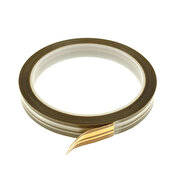
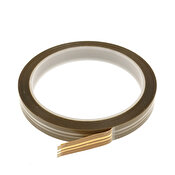
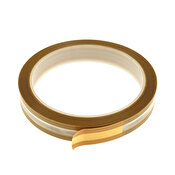
Now it's time to transfer your design or text onto the sign. This can be done in several ways. Below we list the traditional ways to transfer your design. For lines you can use Finesse Pinstriping Tape which comes in several different sizes. The tape acts as a stencil; you attach it, paint and then peel off the tape.
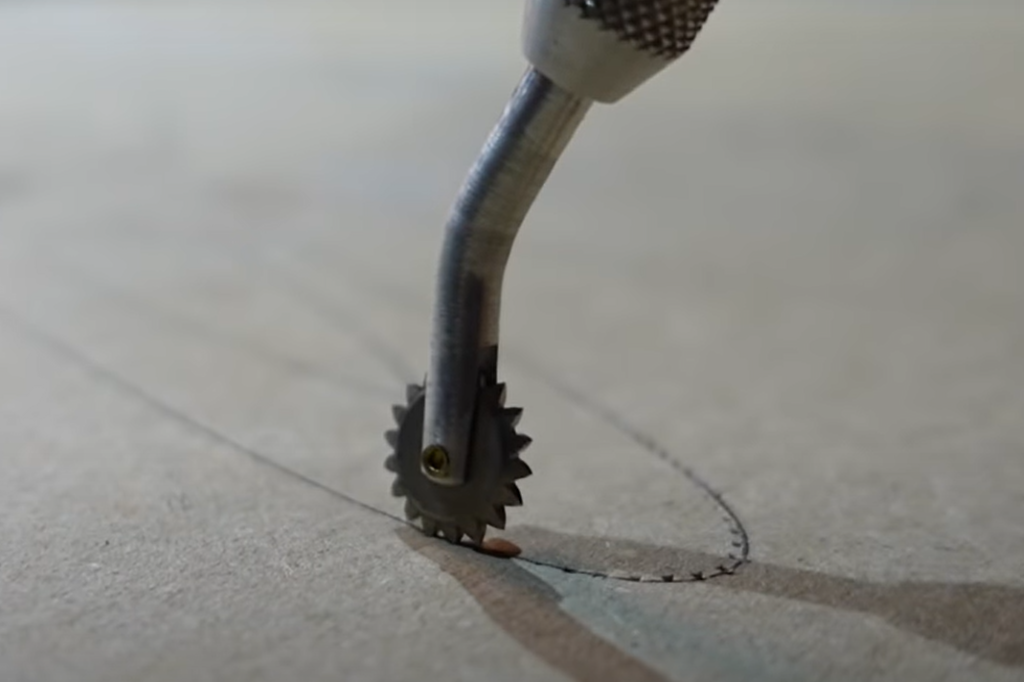
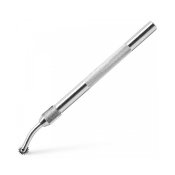
Place the paper with your desig on a protected table surface. Use a puncher or pounce wheel as it is called. Go over the lines so that small holes are formed in the paper. If the holes are too small, you can lightly go over them with a sandpaper to remove excess material.
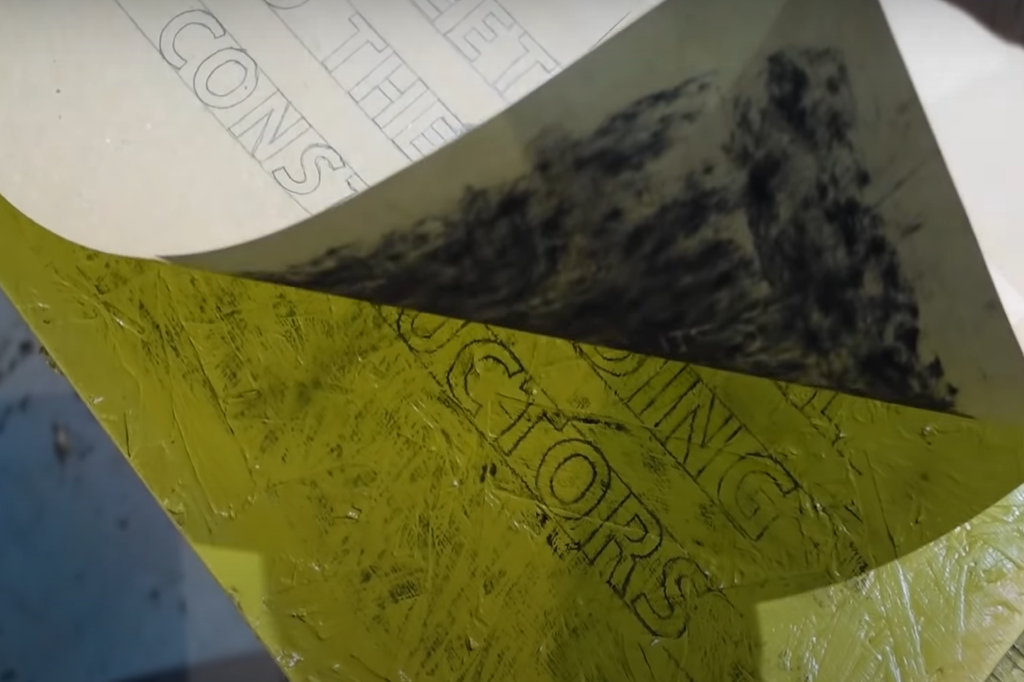
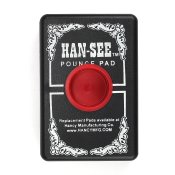
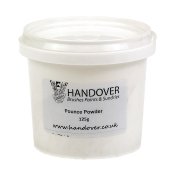
Once you've gone over the entire design, place the paper on your sign and make sure it's placed correctly, secure the paper with tape. Then dab the paper with a Han-See Pounce Pad and Handover Pounce Powder. This is a powder cushion and powder. The powder will seep through the small holes and form your desig. Carefully remove the paper from the sign. if you want to touch up somewhere or make your design freehand, you can use a graphite pencil.
Turn your paper design side down and apply a layer of graphite. Then place the paper with your design in the correct direction where you want it to sit on the sign and go over the lines with a pencil. The pressure from the pen causes the graphite to transfer to your sign.
Now that you have your design, you can start painting. In the Sign Painting category, we have a range of suitable brushes in different sizes. When it comes to the color, the same principle applies as when you paint your base coat. Use the 1-Shot Signwriting Enamel Gloss. Mix the color 1-Shot ChromaFlo Flow Enhancer and optionally with 1-Shot Low Temperature Reducer.
When the paint has dried, you are done with your sign. It can take a long time for the paint to dry as it is an oil-based paint. If you want, you can use a clear top coat for extra shine and color experience. Remember to wash your brushes with brush cleaner and preserve them with brush oil after use.
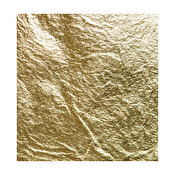
If you want gold details on your sign, you use a special oil-based glue, gold leaf and a sealing varnish.
There are a number of other products to explore in the category Sign Painting.


Tjärhovsgatan 1. Stockholm
Tel: 08–6436900
Open Hours
Monday - Friday: 11.00 - 18.00
Saturday: 11.00 - 16.00
Sunday: Closed
© 2001–2026 Highlights/KR Distribution AB.
![]()
![]()
![]()
![]()
.png)
Highlights Est. 2001
info@hlstore.com


.png)

.png)