The product has been added to your cart
Highlights Est. 2001
info@hlstore.com
In this guide you will learn how to create your first lino print. With lino printing, you can create your own designs that you can print on paper, cardboard, wood or textiles. You can create single-color prints or print multiple layers of different colors for multi-color printing. Lino printing is a fairly simple printing technique and is therefore suitable for all ages.
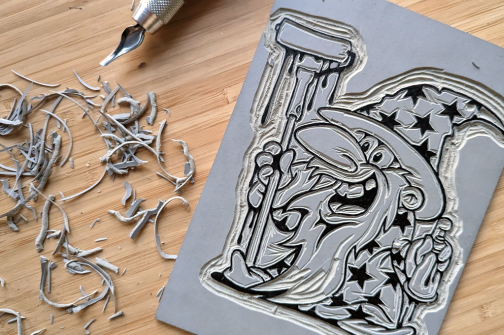
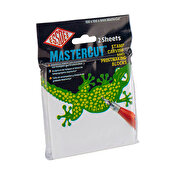
The actual technique of lino printing involves cutting out a design on a linoleum plate, a so-called lino cut. Linoleum is a soft material found in, for example, floors. You cut out the parts of your design that should not leave paint on the paper when you print. Below we go through how to create your first linoleum cut, step by step.
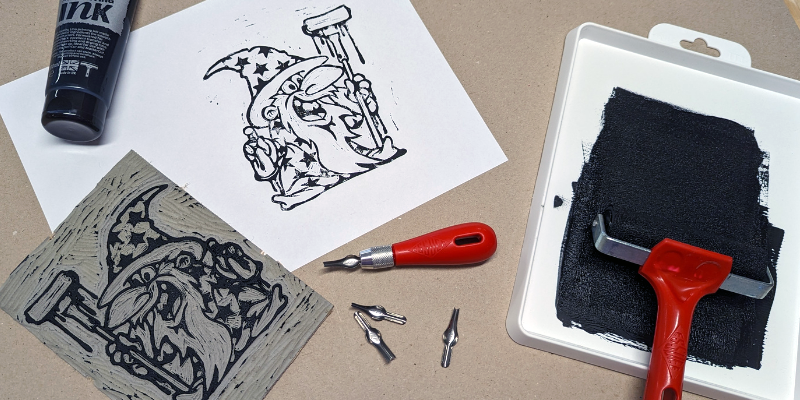
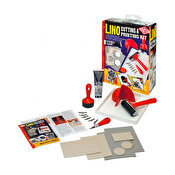
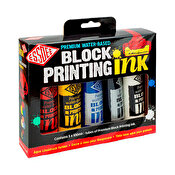
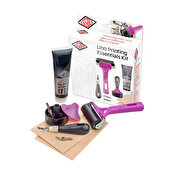
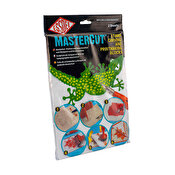
There are a plethora of different tools and accessories for linoleum printing, some more necessary than others. Professional prints are usually made with large presses in studios. But with a few tools and accessories you can create beautiful prints at home.
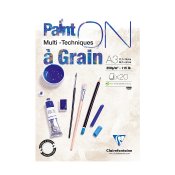
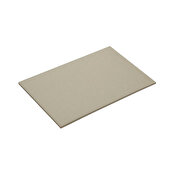
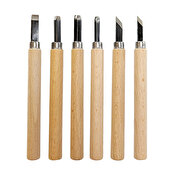
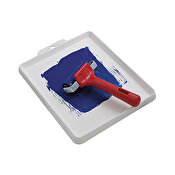
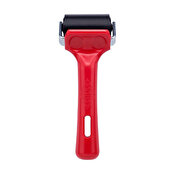
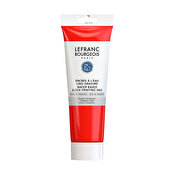
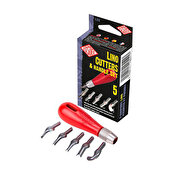
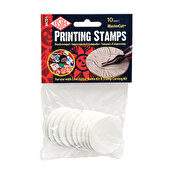
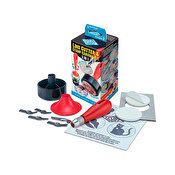
You need:
A lino print is produced by removing the parts that should not have color in your lino cut. So instead of adding shapes, you rather remove surfaces. If this is your first time creating a lino print, it's best to start simple. Your first design should not have too many details and thin lines as it is easy to accidentally cut something wrong as a beginner. In this guide, the graffiti artist DEKIS has created a design that we make into a linoleum print.
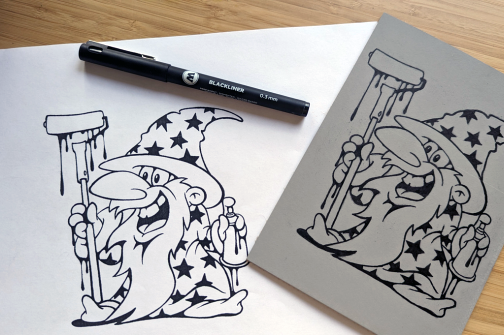
Make sure you have a clean and tidy workspace. You can use newspaper to protect the table from ink and smudges. Have your design ready; you can either draw it directly on your linoleum board or transfer it from a piece of paper. In this example we have stroked a layer of graphite on the back of the design and then attached it to the plate with tape and gone over the lines of the design with a pencil. The pressure from the pen causes the design to be transferred to the linoleum board. Keep in mind that your subject will be mirrored when you print if you use this method.
.png)
.png)
Below we go through how you can create a linoleum print in 4 steps (with pictures).
.png)
.png)
.png)
.png)
There are several ways to make a multi-color print. You can either produce several plates with different surfaces to which you apply different colors. You then press one mold at a time and let each layer dry between applications. Another way is to press with the same plate several times, by just rolling the color on the part you want to be in a new color.
The most important thing to keep in mind with multi-color printing is that the different layers of color end up in the right place. Therefore, it can be helpful to construct a frame or template so you know exactly where to place your block and paper. Two rulers and some tape go a long way. Read also Essdees blog post on multi colored prints for more instructions and tips.
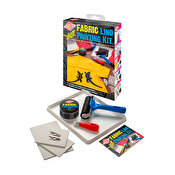
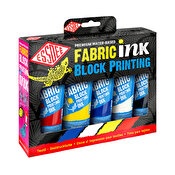
When printing on fabric and clothing, use inks that are suitable for textiles. This color can be heat treated so that the color does not disappear when you wash your garment. Once the paint has dried, you can iron the garment on the back of the garment where your design is.


Tjärhovsgatan 1. Stockholm
Tel: 08–6436900
Open Hours
Monday - Friday: 11.00 - 18.00
Saturday: 11.00 - 16.00
Sunday: Closed
© 2001–2026 Highlights/KR Distribution AB.
![]()
![]()
![]()
![]()
.png)
Highlights Est. 2001
info@hlstore.com


.png)

.png)